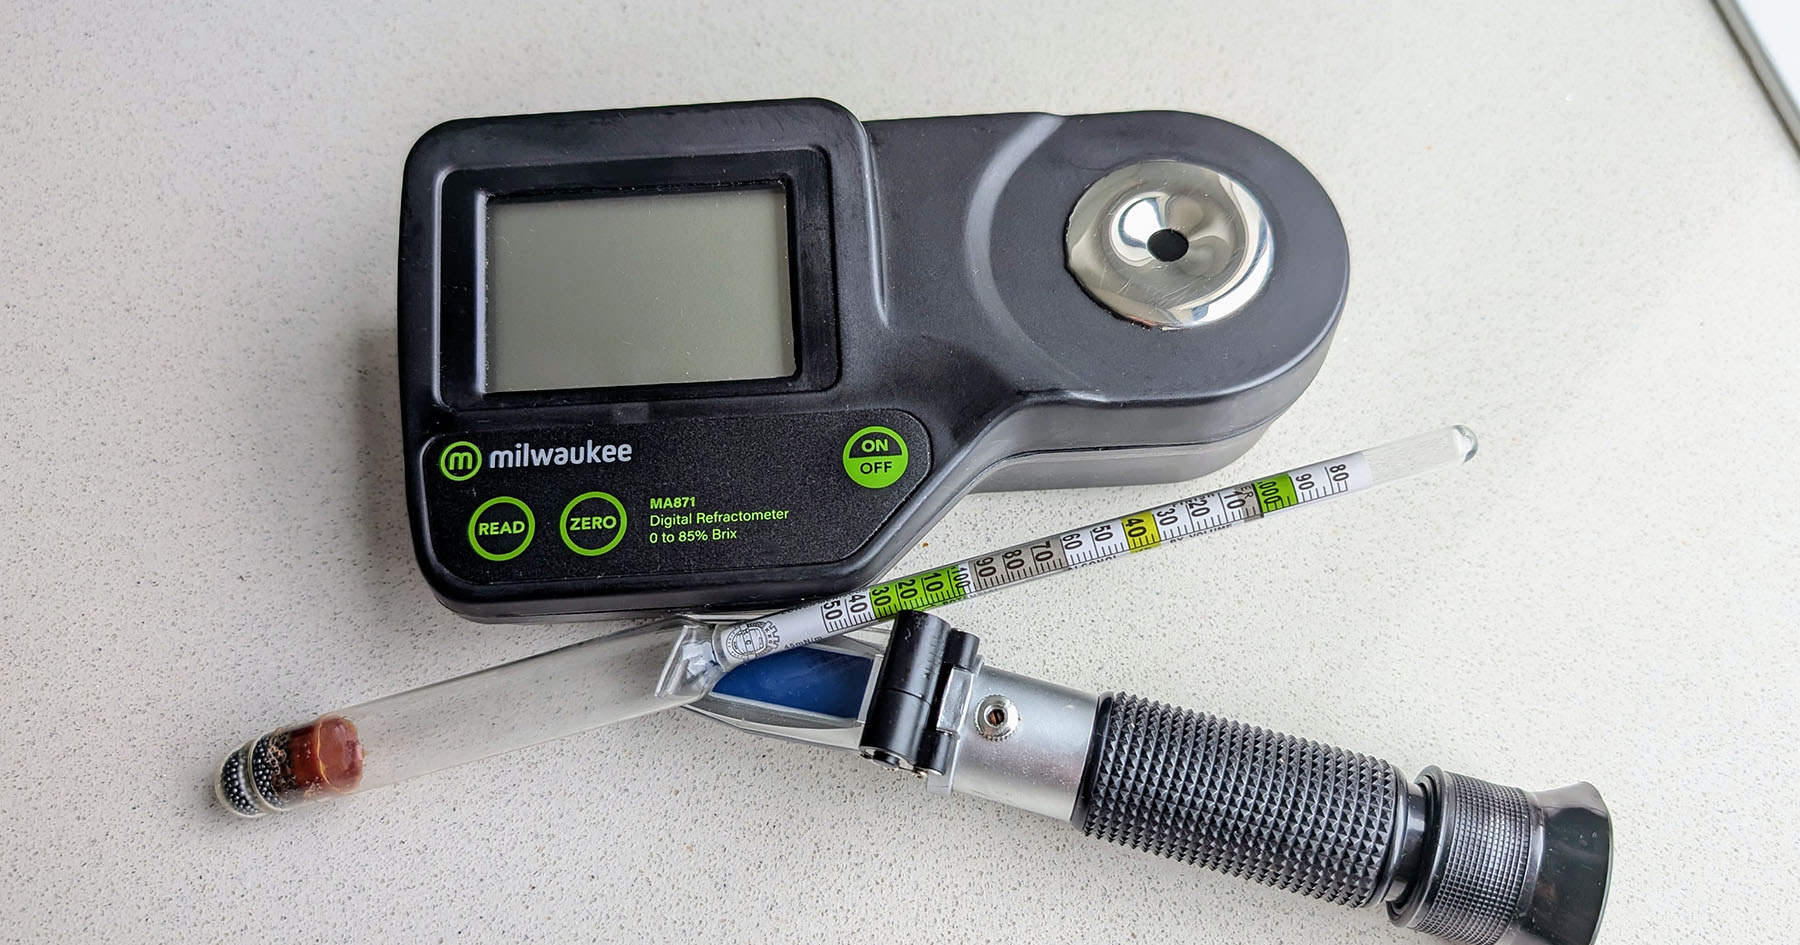
When choosing between refractometers and hydrometers for your homebrew, consider your brewing needs and budget.
Hydrometers are affordable, reliable for final gravity readings, and easy to use, but they require larger samples and risk contamination. Refractometers need only a few drops, saving wort and time, especially for small batches. They’re more durable and have built-in temperature correction, but they’re less accurate post-fermentation due to alcohol interference.
Many homebrewers use both: refractometers for original gravity and quick mash samples, hydrometers for final gravity.
Whichever you choose, accurate gravity measurements are essential for monitoring fermentation and ensuring consistent results. There’s more to explore about these essential brewing tools.
Key Takeaways
- Refractometers require smaller samples, reducing wort waste compared to hydrometers.
- Hydrometers are more accurate for final gravity readings due to alcohol interference in refractometers.
- Refractometers offer built-in temperature correction, simplifying measurements during brewing.
- Hydrometers are more affordable and easier to use for beginners in homebrewing.
- Using both tools provides comprehensive data throughout the brewing process for optimal results.
Understanding Specific Gravity Measurement
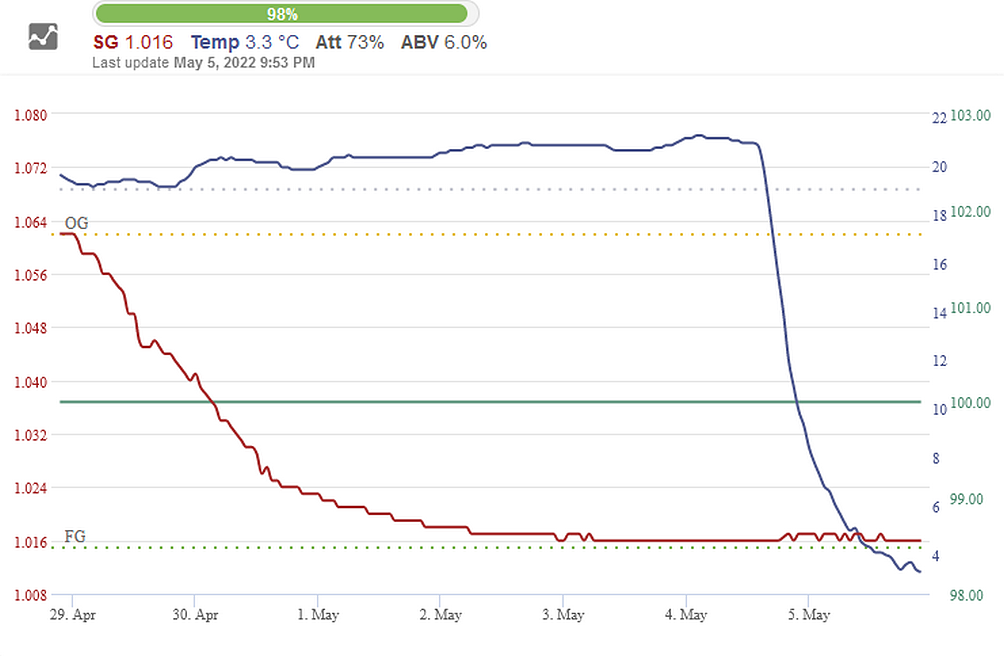
In homebrewing, specific gravity is your key to understanding the sugar content of your wort and beer. It’s a measure of your liquid’s density compared to water, which has a specific gravity of 1.000.
When brewing, you’ll find that your wort’s gravity is higher due to dissolved sugars, often starting around 1.040 to 1.060 for many beer styles. As fermentation progresses, those sugars are converted to alcohol, and your gravity drops.
Measuring specific gravity isn’t just about numbers; it’s about tracking your brew’s progress. You’ll use it to calculate your beer’s alcohol content, monitor fermentation, and guarantee consistency batch after batch. I’ve found that taking regular gravity readings has dramatically improved my brewing precision.
Remember, temperature affects density, so you’ll need to adjust your readings if you’re not measuring at the standard 60°F (15.6°C). Most hydrometers are calibrated to this temperature, but don’t worry – there are online calculators to help with adjustments.
By mastering specific gravity measurements, you’re on your way to improving your beer and achieving consistent results.
Hydrometers: Features and Limitations

Now that we’ve covered the basics of specific gravity, let’s explore one of the primary tools for measuring it: the hydrometer. This simple yet effective device works by floating in your wort or beer, with its position indicating the liquid’s density. You’ll find most hydrometers marked with a scale that references 1.000 for pure water, making it easy to gauge your brew’s sugar content.
While hydrometers are budget-friendly and straightforward to use, they do come with some limitations. You’ll need a larger sample size, which can lead to wort waste – something I’ve learned the hard way! Temperature adjustments are also necessary, as density changes with heat. In my experience, opening fermenters to take readings increases the risk of contamination, so proper sanitation is vital.
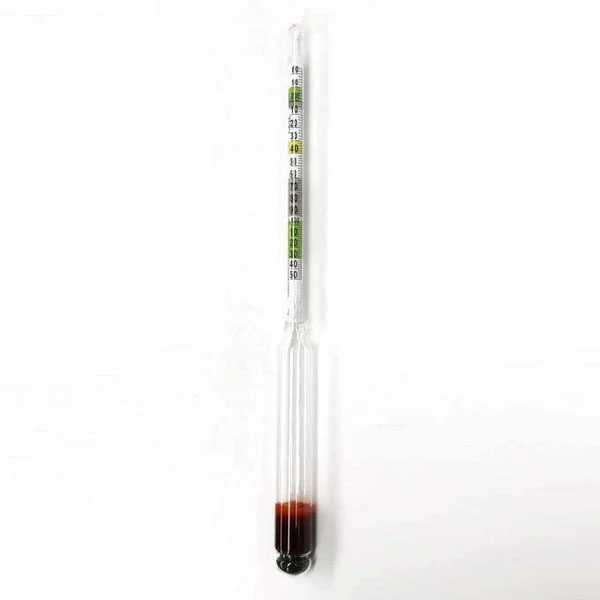
One quirk I’ve noticed is that hydrometers can be less accurate post-fermentation due to alcohol presence. Despite these drawbacks, they’re still a reliable tool for measuring original and final gravity.
Hydrometers are availalable from your local home brew store, Amazon (click here), or Kegland also stocks them here.
Note: There is a newer type of “pill” hydrometer that sits in the wort in your fermenter throughout fermentation and reports readings wirelessly to your mobile device or brewing software. One such device is the RAPT Pill – which you can read about here.
How To Use a Hydrometer
Here is how to use a manual glass hydrometer:
- Sanitize the hydrometer and any other equipment to prevent contamination.
- Fill a clean, tall container (test jar) with the beer sample.
- Ensure the container is deep enough for the hydrometer to float freely.
- Gently lower the hydrometer into the liquid, allowing it to float without touching the sides or bottom.
- Wait for the hydrometer to stabilize in the liquid.
- Read the Specific Gravity (SG) at the level where the liquid intersects the scale on the hydrometer.
- Correct the reading for temperature if necessary, based on the hydrometer’s calibration temperature (usually 60°F or 15.5°C).
Refractometers: Advantages and Accuracy
Refractometers offer a modern alternative to traditional hydrometers for measuring wort density. Unlike hydrometers, which require a large sample, refractometers need only a few drops of wort. This means you’ll waste less of your precious brew and reduce the risk of contamination. As someone who’s used both, I can tell you that the ease of use is a game-changer.
Refractometers come with built-in temperature correction, which is a real time-saver. No more fussing with temperature adjustments!
They’re also more durable than glass hydrometers – I’ve dropped mine a few times without issue. However, it’s crucial to recognize that while refractometers are spot-on for measuring original gravity, they become less accurate once fermentation begins.
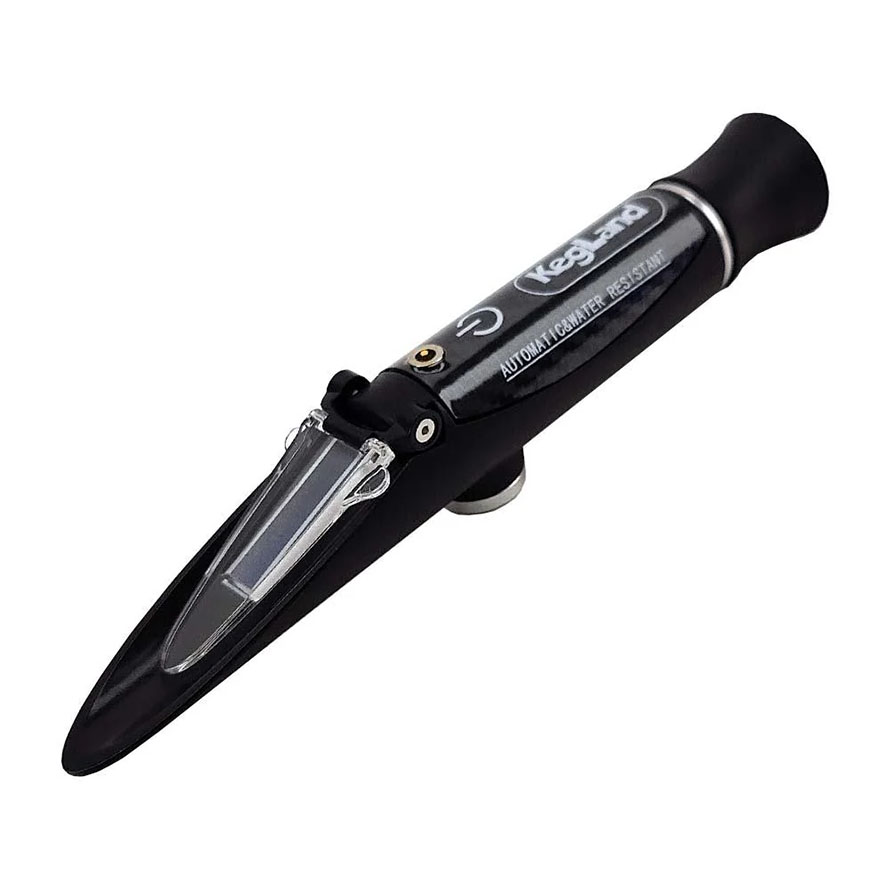
There are different types of refractometers available: handheld devices as well as digital models that take the reading electronically.
- My recommended digital model is the Milwaukee MA871 which can be purchased on Amazon here.
- This is my fav handheld model from Kegland – purchase here.
The presence of alcohol throws off the readings, so you’ll need to use a calculator to adjust your final gravity measurements. In my experience, using a refractometer for OG and a hydrometer for FG gives the best of both worlds.
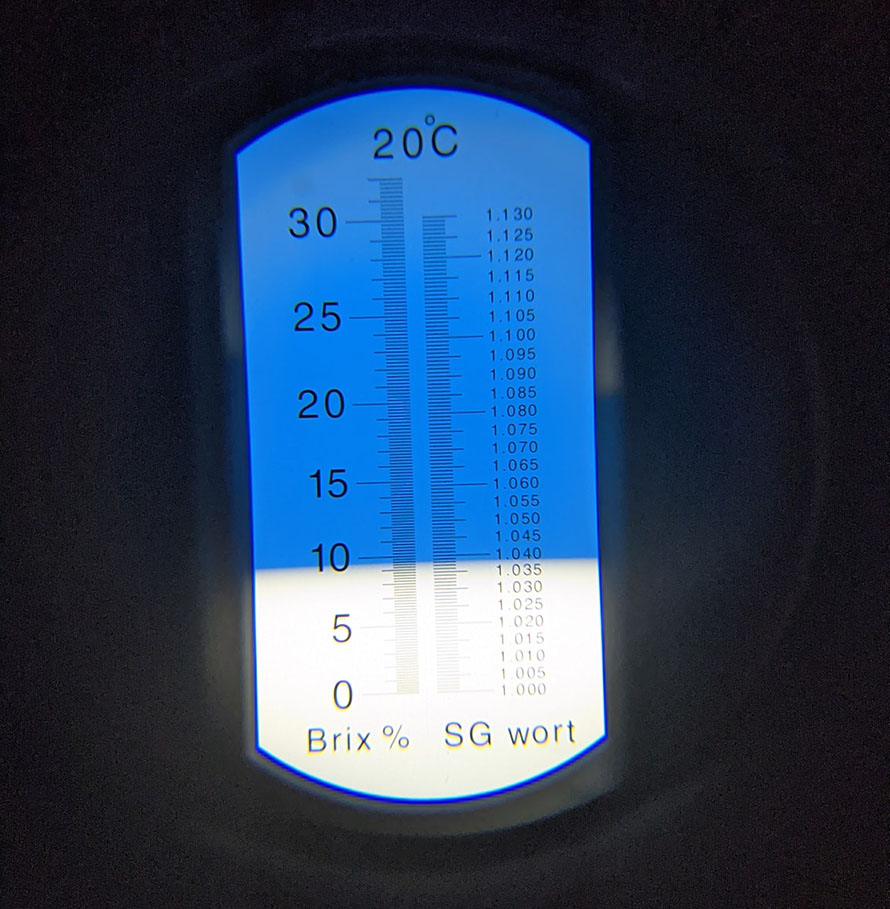
How to use a use a Handheld Refractometer
To take a SG measurement with a refractometer, start by ensuring that the refractometer is properly calibrated with distilled water. Once calibrated, follow these steps:
- Collect a Sample: Draw a small sample of your beer wort. It should be at room temperature to avoid temperature-related inaccuracies.
- Place the Sample on the Prism: Open the daylight plate of the refractometer and place a few drops of the wort on the prism’s glass surface. Make sure the entire surface is covered.
- Close the Daylight Plate: Carefully close the daylight plate over the sample to spread the liquid evenly across the prism. Ensure there are no air bubbles.
- Look Through the Eyepiece: Point the refractometer toward a light source and look through the eyepiece. You’ll see a scale with a dividing line between the blue and white fields.
- Read the Brix Value: Read the Brix value where the boundary line between the blue and white areas intersects the scale. This Brix value represents the sugar content of the wort.
- Convert Brix to SG: Use a conversion chart or an online calculator to convert the Brix value to specific gravity (SG). Note that this conversion is most accurate before fermentation begins.
- Record the Measurement: Write down the SG value for your brewing records. This measurement can help track fermentation progress and calculate alcohol content later on.
Choosing the Right Tool
When it comes to choosing between a hydrometer and a refractometer, there’s no one-size-fits-all solution. Your decision should be based on your brewing style, budget, and personal preferences.
If you’re just starting out, a hydrometer might be your best bet. It’s affordable, easy to use, and gives you reliable readings throughout the brewing process. Plus, it’s great for measuring final gravity without any adjustments.
On the flip side, if you’re looking to reduce waste and save time, a refractometer might be more your speed. It only needs a few drops of wort, which is perfect for small batches or frequent measurements. I’ve found it invaluable during the mash and boil stages, helping me hit my target gravity with precision. However, keep in mind that you’ll need to use calculators for post-fermentation readings.
For the best of both worlds, consider using both tools. I often use my refractometer for original gravity and tracking fermentation progress, then switch to my trusty hydrometer for final gravity readings. This approach gives me the most accurate and thorough data for my brews.
Practical Application in Homebrewing
Three key stages in homebrewing benefit from accurate gravity measurements: the mash, the boil, and fermentation.
During the mash, you’ll want to check if you’ve hit your target gravity. A refractometer shines here, as you can quickly sample without cooling.
As you’re boiling, you’ll need to monitor gravity to check your brewing efficiency. Again, a refractometer’s speed is invaluable. Once fermentation kicks off, things get trickier. While a refractometer can still be useful with proper calculations, a hydrometer becomes your go-to tool for accuracy.
In my experience, using both tools throughout the process yields the best results. I’ll use my refractometer to track progress during the mash and boil, then switch to a hydrometer for final gravity readings.
This combo helps me maintain consistency batch after batch.
Remember, though, that sanitation is essential when using a hydrometer during fermentation.
Frequently Asked Questions
Can I Use a Refractometer for Measuring Alcohol Content in Distilled Spirits?
You can’t use a standard refractometer for measuring alcohol content in distilled spirits. It’s not designed for high-proof liquids. Instead, you’ll need a specialized alcohol refractometer or hydrometer specifically calibrated for distilled spirits.
How Often Should I Calibrate My Hydrometer or Refractometer?
You should calibrate your hydrometer annually and your refractometer before each use. For hydrometers, check with distilled water at 60°F. For refractometers, use distilled water to set the zero point before taking measurements.
Are Digital Hydrometers More Accurate Than Traditional Glass Ones?
Digital hydrometers aren’t necessarily more accurate than traditional glass ones. You’ll find they’re often easier to read and less fragile. However, both types can be accurate if they’re properly calibrated and used correctly.
Can Environmental Factors Like Humidity Affect Refractometer Readings?
Yes, environmental factors can affect your refractometer readings. High humidity may cause condensation on the prism, leading to inaccurate results. You’ll want to keep your device clean and dry, and use it in a controlled environment for best accuracy.
Is It Possible to Convert Between Different Gravity Scales (E.G., Brix to Plato)?
Yes, you can convert between gravity scales. It’s easy to switch from Brix to Plato or specific gravity. Online calculators and conversion charts are available, or you can use simple formulas to do it yourself.

